Visual documentation transforms how homeowners approach cleaning and maintenance. Whether tracking progress on a deep clean, building a cleaning routine, or documenting a rental property, house cleaning images serve as both motivation and reference. They’re not just pretty before-and-after shots, they’re practical tools for home management, project planning, and accountability. This guide covers the types of cleaning images that matter, how to capture professional-quality shots with standard smartphone gear, and where to find high-quality visuals when you need inspiration or instruction fast.
Table of Contents
ToggleKey Takeaways
- House cleaning images serve as practical documentation tools for tracking progress, creating accountability, and protecting property value during sales or rental disputes.
- Before-and-after cleaning photos should be shot from identical angles with natural lighting and consistent framing to accurately compare results and evaluate cleaning product effectiveness.
- Professional-quality house cleaning images require only a smartphone, natural light, a stable position (or budget tripod), level composition, and light editing to eliminate shake and distortion.
- Room-by-room visual documentation with close-up details supports insurance claims, project planning, and helps homeowners discover organizational problems like lack of dedicated storage or poor workflow placement.
- Reference photos inside cabinet doors, closets, and storage bins guide family members on proper organization and ensure everyone maintains the system consistently over time.
Why House Cleaning Images Matter for Homeowners
Documentation isn’t just for Instagram. Visual records of cleaning work provide measurable proof of progress, which matters when selling a home, disputing a security deposit, or simply staying motivated through a multi-week decluttering project.
Photos create accountability. A dated image of a cluttered garage makes it easier to track whether organizational systems are holding up six months later. For rental properties, timestamped images protect both landlords and tenants by establishing baseline conditions before move-in and after move-out.
Cleaning images also serve as instruction. A photo showing the correct way to fold a fitted sheet, stack dishes in a drying rack, or organize under-sink plumbing around cleaning supplies beats a text description every time. When teaching household members, especially kids, how to complete chores, visual references reduce confusion and repetitive questions.
Finally, they’re useful for contractors and service providers. Before hiring a cleaning service or starting a renovation that requires clearing rooms, photos document what needs moving, what stays, and the scope of work. That reduces disputes and ensures everyone’s on the same page about expectations.
Types of House Cleaning Images You Need
Not all cleaning photos serve the same purpose. Understanding the categories helps homeowners capture the right shots for their specific needs.
Before and After Cleaning Photos
These are the workhorses of cleaning documentation. Shoot from the same angle and distance for both images, inconsistent framing makes comparison difficult. Use natural light when possible: overhead fixtures can wash out dirt and grime that you’re trying to highlight.
For renovations or deep cleans, take before shots of every surface: baseboards, window tracks, grout lines, appliance interiors, and cabinet shelves. Mark the date and room in your phone’s photo metadata or a simple note app. After photos should match the before shots exactly in composition.
Before-and-after pairs work especially well for grout cleaning, carpet stain removal, and decluttering projects where the visual difference is dramatic. They’re also valuable when cleaning and organization methods are being tested, you’ll know which products or techniques actually deliver results.
Room-by-Room Cleaning Visuals
Systematic documentation by room creates a visual inventory of your home’s condition. Start at the entryway and work clockwise, capturing wide shots that show overall layout, then close-ups of problem areas like scuff marks, water stains, or worn finishes.
For kitchens, photograph inside cabinets, the refrigerator, and under the sink. In bathrooms, capture tile grout, caulk lines, and fixture finishes. Bedrooms need closet interiors and under-bed areas. These detailed shots help when planning material orders for repairs, you’ll have exact measurements and conditions on hand.
Room-by-room visuals also support insurance claims. If a burst pipe floods a basement or a storm damages windows, dated photos establish pre-loss condition. Store these in cloud backup, not just on your phone.
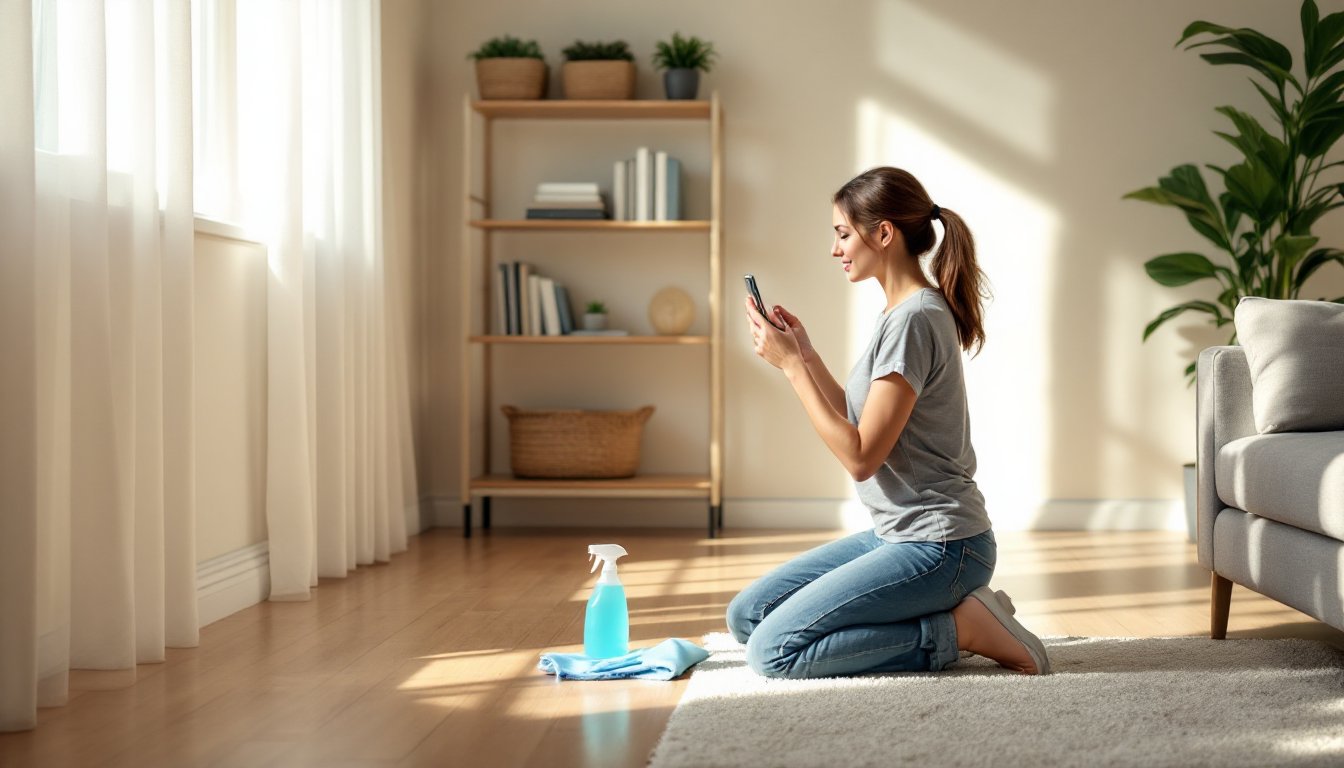
How to Take Professional-Looking Cleaning Photos at Home
You don’t need a DSLR. A smartphone camera and basic technique produce usable results for documentation and sharing.
Use natural light whenever possible. Open blinds and curtains, shoot during mid-morning or mid-afternoon when light is indirect. Avoid shooting directly into windows, position yourself so the light source is behind or to the side of the camera. If you must shoot in low light, turn on all room lights and use your phone’s HDR mode to balance exposure.
Stabilize your shots. Blurry images are useless for documentation. Brace your elbows against your torso, lean against a doorframe, or use a small tripod. Many budget tripods with phone mounts cost under $20 and solve shake issues entirely.
Keep the camera level. Tilted horizons make rooms look unprofessional. Most smartphone cameras display a grid overlay, enable it in settings and align the grid with horizontal surfaces like countertops or baseboards.
Stage minimally. Move obvious clutter out of frame, but don’t deep-clean before taking a “before” photo, that defeats the purpose. For “after” shots, clear counters and tuck cords out of sight. The goal is to show the cleaned surface, not distractions.
Capture details with macro mode. For grout lines, stained upholstery, or damaged finishes, get within 6-8 inches and tap your screen to focus. Many phones now have dedicated macro modes that handle extreme close-ups automatically.
Shoot in landscape orientation for rooms and wide shots. Portrait orientation works for tall spaces like pantries or linen closets, but landscape gives better context for most home interiors.
Edit lightly if needed. Adjust brightness and contrast to match what your eye sees in person, but avoid heavy filters, they distort colors and make it harder to assess actual conditions. Free apps like Snapseed or your phone’s built-in editor handle basic corrections without subscription fees.
Where to Find High-Quality House Cleaning Images
When you need reference images for planning a project or illustrating a routine, several sources provide reliable, rights-cleared visuals.
Stock photo sites like Unsplash, Pexels, and Pixabay offer free, high-resolution images for personal and commercial use. Search specific terms, “grout brush,” “vacuum baseboard,” “folded towels”, rather than generic “house cleaning.” Quality varies, so check image resolution before downloading. Anything below 1920×1080 pixels will look pixelated on modern screens.
Home improvement and design sites often feature cleaning guides with original photography. Resources like comprehensive home improvement how-tos include step-by-step visuals that show proper technique and tool usage. These are especially helpful when learning new tasks like strip-waxing hardwood or descaling a tankless water heater.
Manufacturer websites provide product-specific images. If you’re documenting a cleaning process that involves a particular vacuum model, steam mop, or cleaning solution, the manufacturer’s site often has high-quality shots showing the product in use. These images clarify features and proper handling better than generic stock photos.
YouTube thumbnails and video stills can serve as reference images, though resolution is often lower. Pause a cleaning tutorial video at a relevant moment, take a screenshot, and use it as a visual checklist. Just don’t redistribute these, they’re useful for personal reference, not republishing.
Your own archive. The most useful cleaning images are often ones you’ve shot yourself in past projects. They show your actual home, materials, and conditions, no guessing whether a stock photo’s tile matches yours. Organize phone photos into albums by room or project type so they’re easy to find later.
Using Cleaning Images for Home Organization Projects
Photos aren’t just records, they’re active tools for planning and executing organization projects.
Start by photographing every cluttered area you want to tackle. Print the images or view them on a tablet while you work. This “third-person perspective” makes it easier to spot patterns: maybe shoes always pile up by the door because there’s no dedicated storage, or mail accumulates on the counter because there’s no sorting system within arm’s reach of the entryway.
Label systems with photos. After organizing a pantry, closet, or garage, photograph the finished layout. Print labels or use a label maker to mark bins and shelves, but also tape a small reference photo inside cabinet doors or on the inside of closet doors. Family members (and future you) will know exactly where things belong. This works especially well for seasonal storage, a photo of neatly packed holiday decorations shows which bins hold lights, which hold ornaments, and how they’re arranged.
Track cleaning routines visually. Create a simple checklist with photos showing what “done” looks like for each task. A photo of a properly made bed, a clean sink with faucet polished, or a vacuumed rug with visible track lines sets a standard that words can’t match. This is particularly useful when multiple people share cleaning duties.
Plan renovations with cleaning images. Before tearing out a kitchen or bathroom, photograph how current storage is organized. Measure and note what fits where, this informs new cabinetry and shelf dimensions. Many homeowners underestimate storage needs because they don’t document what they actually own. A visual inventory prevents costly redesigns when you realize the new pantry can’t fit your stand mixer.
For whole-home decluttering, some homeowners find it helpful to reference cleaning tips and step-by-step instructions that include visual examples. Pairing external guides with your own photos creates a hybrid reference: professional technique applied to your specific spaces.
Safety note: When photographing cleaning projects involving chemicals or power tools, ensure adequate ventilation and wear appropriate PPE, gloves, safety glasses, and respirators if working with strong solvents or dust. Don’t compromise safety for the sake of a photo.